Spotlight
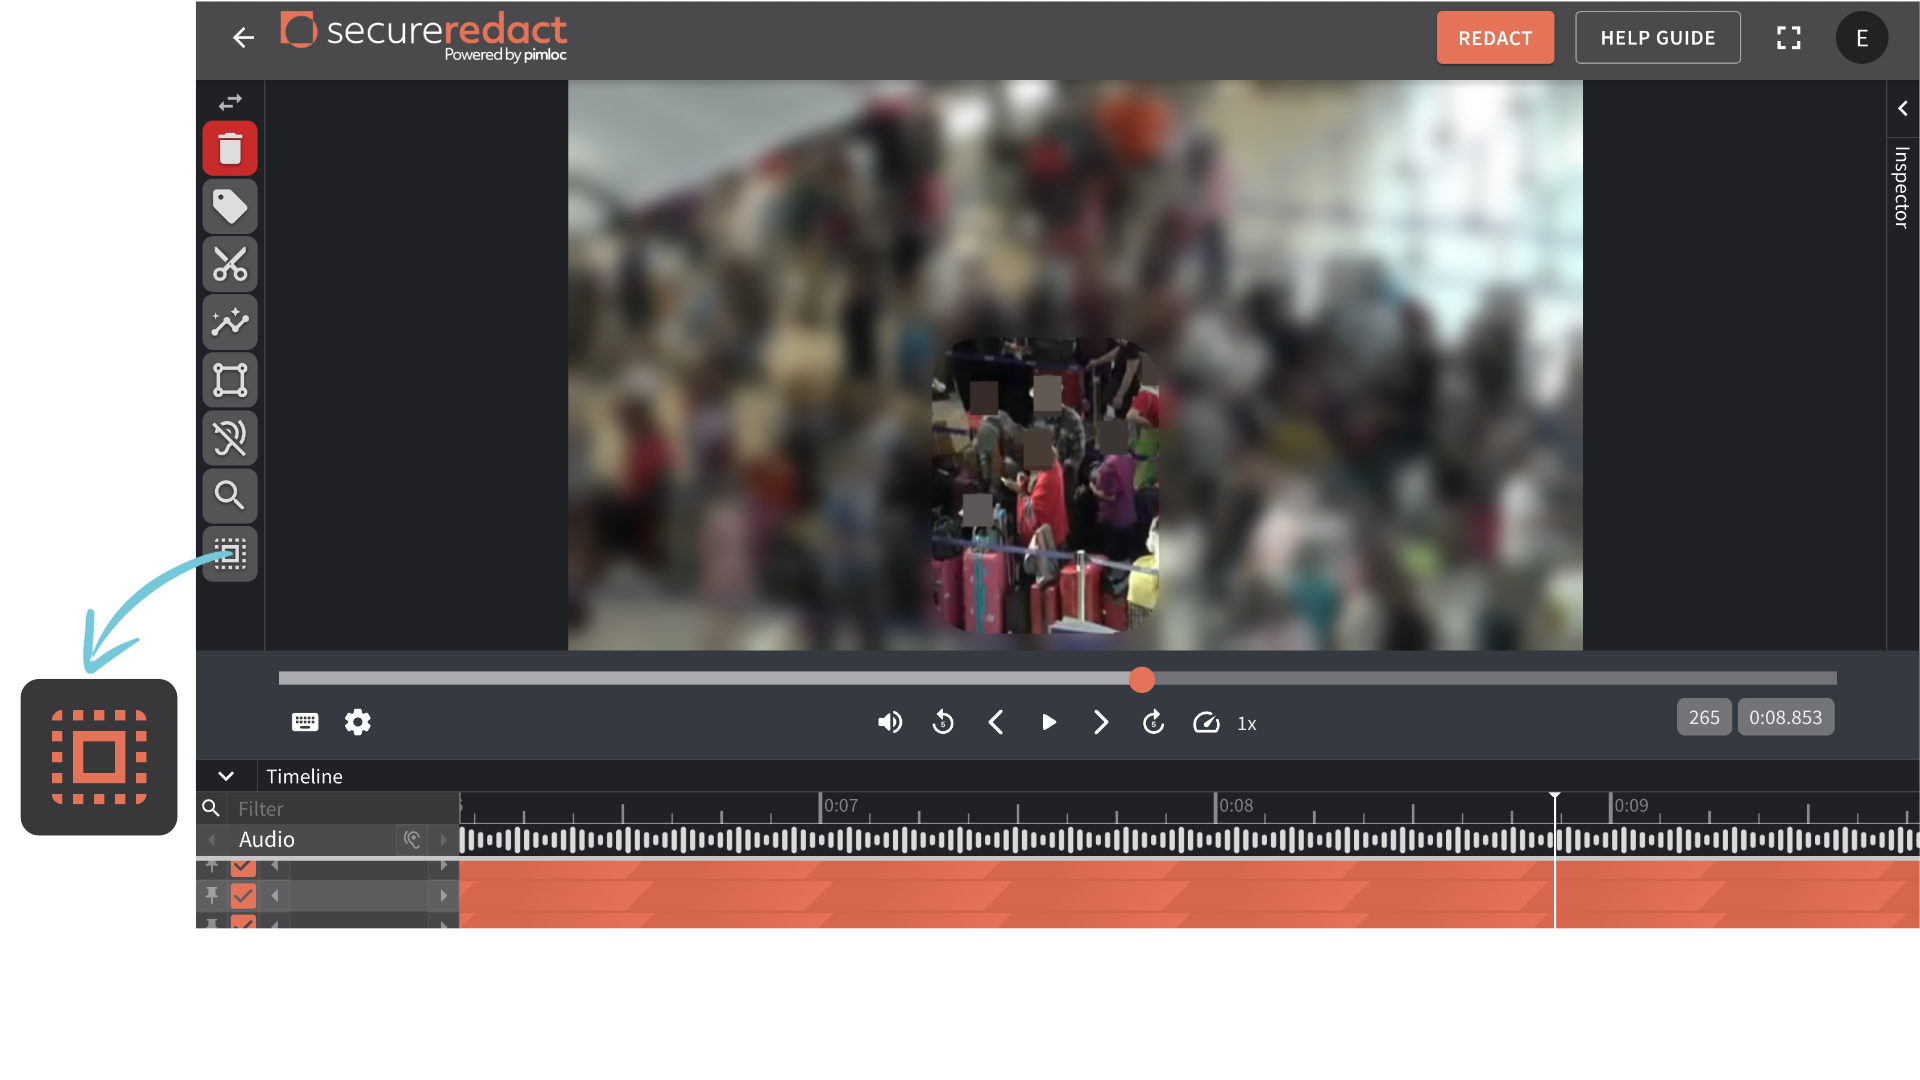
Spotlight allows you to inverse the blur - blurring the entire video screen except for what is inside a particular Spotlight box(es).
Spotlight is useful for very busy and/or overly sensitive scenes, where focus is needed on the main incident areas, whilst anonymising everything in the background.
Draw an orange box in the video player - over the area of the scene that you want to make a spotlight.
Click Toggle Spotlight from the Toolbar. This will turn the drawn orange box into a Spotlight box.
Keyboard shortcut: H
When the Spotlight box is added, the area of the video that will be blurred will turn dark, whilst the inside of the Spotlight box will be light. This is for ease of editing and shows what will be unredacted in the video.
Note: you can Toggle Spotlight on any track/box in the video player (it does not have to be newly drawn). We recommend drawing a new box to focus the spotlight around the activity area you want to highlight.
Note: you can un-toggle Spotlight tracks (by clicking the Toggle Spotlight button again). This will turn the track into a “normal track (or box)” rather than a Spotlight track.
Use the Manual Tracker functionality to elongate the Spotlight box to the desired length (at this stage, the Spotlight box is not longer than one frame. Manual intervention is required to create the Spotlight track across multiple frames).
Note: You can also turn a Zone track into a Spotlight, to highlight a fixed area of the video.
Click and hold the Spotlight box in the video player.
Whilst holding the box, press the arrows forwards/backwards, and continue to hold the Spotlight track over the individual/object - dragging the redaction through the video.
You can also press play (keyboard shortcut: Space bar and drag the box over the individual/object if you’d like to speed the process up.
To stop the Spotlight’s redaction tracking, simply let go of your mouse.
To edit the Spotlight track box size, click the Spotlight track border and adjust as necessary.
To edit what’s inside the Spotlight track, we recommend un-ticking the corresponding row in the timeline. Then, edit the other tracks/boxes as needed.
If you wish to make an individual/object visible within the Spotlight window, you need to un-tick their corresponding row in the Timeline to unredact them.
Once finished editing the Spotlight track, click Settings. Then click one of the Blur preview options (Black Box, Smooth Box, or Pixelate Box) to see how the Spotlight track would look in your video.
Set the level of background blur as required (based on context and sensitivity of the scene).
Faces and license plates that enter the Spotlight window area will still be redacted (or unredacted) as normal.
Note: once a Spotlight track is added and “ticked” in the Timeline view, the video will be completely blurred before or after the Spotlight track’s duration.
Timeline view explained (in relation to Spotlight tracks):
The corresponding orange track in the Timeline view will have a Spotlight pattern on it to show it is a Spotlight track.
Any other tracks within the same row will become Spotlight tracks too.
Any gaps between multiple tracks in a Spotlight row will mean that the whole video will be blurred.


